This page shows some exploration I did regarding fluid rendering in realtime applications. It all started innocently by trying to replicate an effect, and then digging deeper into other techniques which taught me loads!
In this document I outline how I went about this journey, and some final thoughts at the bottom.
Raymarched Fluids
VS
Screen Space Fluid Rendering
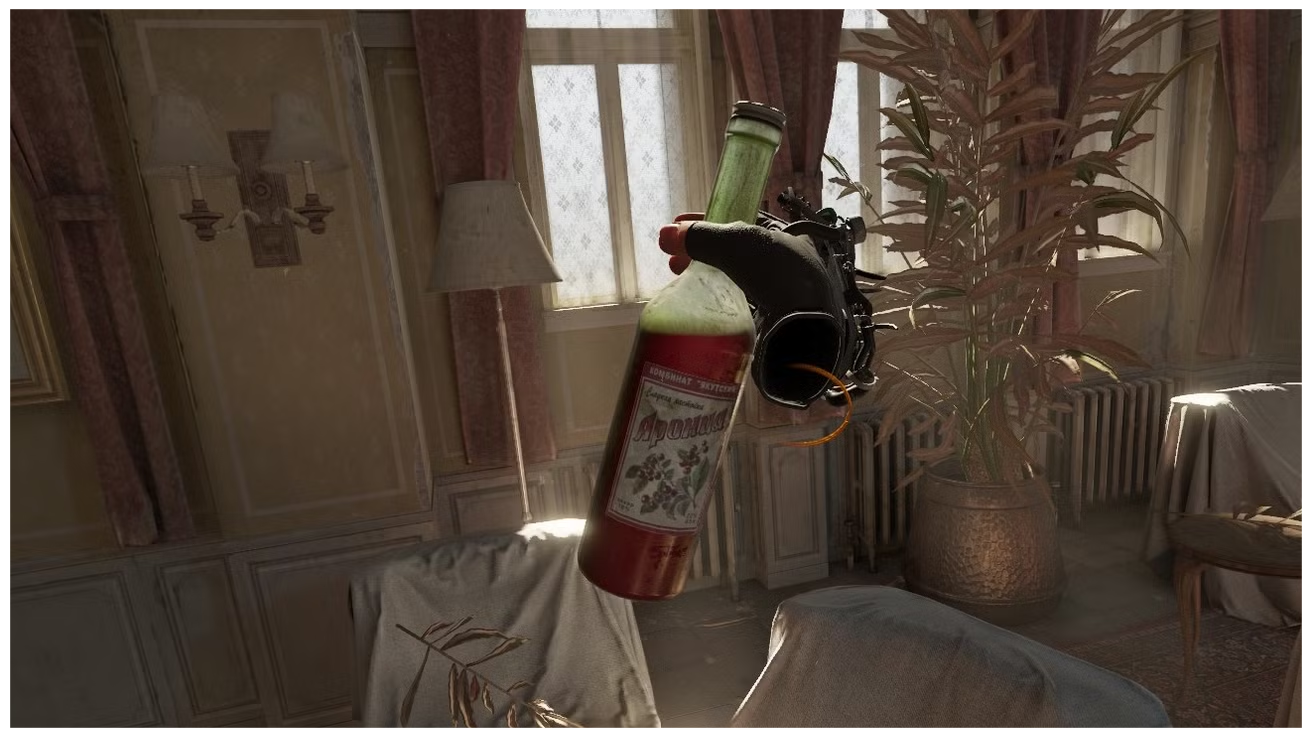
Back in the middle of lockdown, Since I had joined a VR company, I spent a fair bit of time dabbling in VR games. And in particular, the one that consumed most of my time was Half-Life Alyx.
Like many before me, I became obsessed with the liquid rendering inside the bottles when picked up. Without much else to do, it seemed fitting that I would start messing around with shaders and see if I could recreate this effect, considering that I was working for a medical VR company, and in our procedures we deal with a great deal of liquids in bottles.
At the time, there was very little information about how they did it, some ideas from many but nothing concrete. VR being a bit of a performance hungry platform, I tried to do this as cheaply as possible, which at first, I somewhat succeed. By simply looking at front facing pixels, comparing them against backfacing and faking normals to give the illusion of a “top side” of the liquid.
It worked, especially when taking into account the “Up Vector” of the asset, to force the illusion of gravity. However, it was very flat looking… I wanted to give the illusion of waves. And if possible, some see-throughness that wouldn’t break when looked at from different angles.So I thought: “You know what? I wonder how does VR handle some ray-marching!”
So I went that route and got some pretty fun results!
The basic was pretty similar, I would use an attribute to determine a plane based on “remaining volume”. This height would take into consideration the bounds of the asset and adjust itself depending on the angle. An approximation of volume, and in no way accurate.
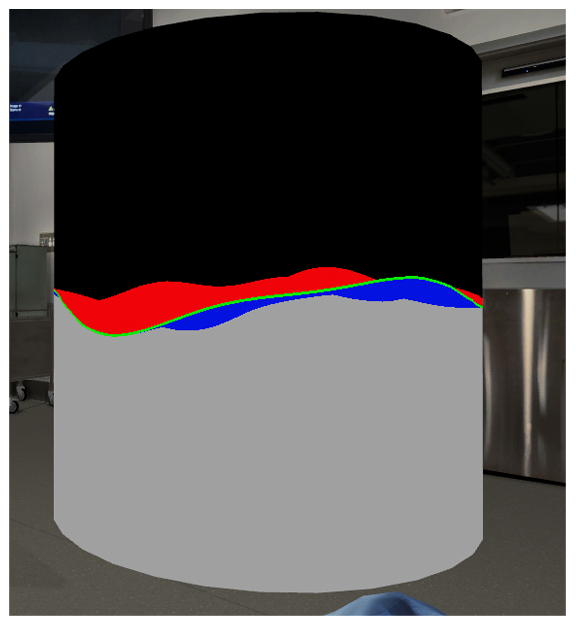
Then, in the shader, we would raymarch thorough the visible pixels of the bottle (facing us) and do some ray-marching math against hte plane to determine if we’re hitting the surface, the bottom (depending on the angle) or right in the middle (with a small threshold).
I would colour each section to see if the math worked. Then all I had to do was add some noise to the plane where the amplitude increased depending on the acceleration of the asset.
From here on, all we had to do is fix the normals, and add some PBR properties to the liquid to look like it’s meant to!
Excuse the slightly NSFW hand motions as I tested the “shakiness”, but here’s the final result
This was pretty exciting. However, it quite expensive to run in VR so I was curious to know if there were alternative ways to achieve this.
So after some digging I came across NVIDIA’s paper on Screen Space Fluid Rendering. Which showed promise and if anything it would give me an opportunity to learn something I was curious about for some time. Niagara’s Simulation Stages. As I came across Asher Zhu’s attempt to use Simulation Stages for this very goal.
I used a similar technique as the raymarched one to populate particles within the container of the bottle. They were not physically simulated completely because it was hard to keep the particles form exploding (this was early days of Niagara), so the simulation was faked in that regard.
But once the particles behaved the way I wanted to, it was straightforward to pass them to a 2D Grid, and use that to perform a blur, calculate normals from depth and use the blurred depth and normals to render the fluid (as per the Screen Space Fluid Rendering paper).
The result was a much more performant solution, that looked pretty decent in VR. The main caveat here was that since we have to render a version onto the 2D grid to perform calculations within Niagara Sim Stages, it always runs one tick behind. Which can be visible if shaking agreesively, but when used gently, it looks great!